
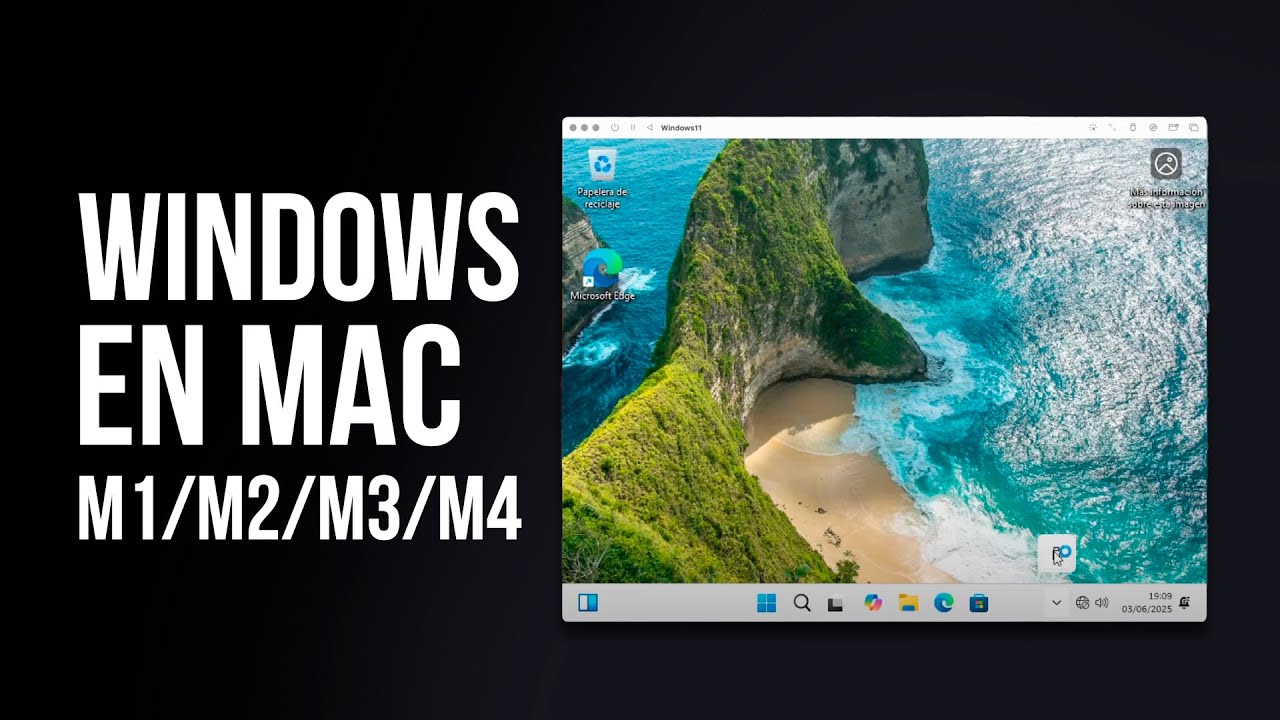
I’ll answer you quickly: yes!, you can, but not the way it used to be done with Intel processors using Bootcamp. For now, as far as I know, you can install Windows by virtualizing it—mind you!, virtualizing, NOT emulating, which is different.
Here you have two ways to do it: one a bit more complex but free, and another much more comfortable but paid.
You can install the Windows 11 version for ARM processors, which makes the virtual machine perform better. Look!, I’ll tell you right off the bat that it runs well, but it’s still not like having a native Windows. However, I was surprised because it moves along quite nicely, although you can still notice a tiny bit that it’s not 100% native.
I also tested it on an M2 MacBook Air with 16GB of RAM. Maybe you’ll test it on a Mac with a more powerful processor and then it’ll run totally perfect!, but since I don’t have another option to test it with, I’m doing it on mine.
Here is how to do it with UTM, for free
To make a long story short, what you need is the UTM application, which is free and open source, and then obviously the Windows 11 ISO for Arm64. Once you have both things downloaded, mount the UTM DMG, copy the application to your Mac’s Applications folder, and run it.
Now it’s time to create a new virtual machine, and we are going to select “virtualize” because you are going to install the Arm version of Windows, and the steps there are basically next, next, next. If you want, you can customize the virtual machine if you know what you’re doing; otherwise, leave everything by default because it will boot up just the same.
Mind you!, at the step where you choose the ISO image, click Browse and add the Windows 11 ISO you downloaded.
The next thing is to run the virtual machine to install Windows 11, click the start button, and follow the Windows installation instructions, which are super easy.
Now it’s time to tweak Windows a bit. Once you are inside Windows and so that it picks up all your devices—like sound, network, graphics, and everything else—go to “This PC” in Windows and you will see a “Guest Tools” drive. Open it and run the installer; this installs all the drivers the virtual machine needs onto Windows. When it finishes, restart the machine and you’re all set.
It might happen that your screen goes black while you are installing the drivers—no problem!, force-restart the machine from the top, and then once inside Windows, run the “Guest tools” installer again just in case something got cut short. This time it won’t go black.
And that’s all there is to it! Enjoy your Windows on a Mac.
Update:
- To make it look good at resolutions higher than 1080p, try enabling “Retina mode” in the virtual machine options under the “display” section.
A more convenient alternative: Parallels
First of all, let me make one thing clear: in the video I used UTM because it is free, open source, and anyone can try it without paying a dime. For tinkering, learning, or using Windows occasionally, UTM gets the job done without any issues.
Now then!, if your idea is to use Windows on your Mac on a regular basis, work with it, or simply not complicate your life, that’s where Parallels Desktop comes in.
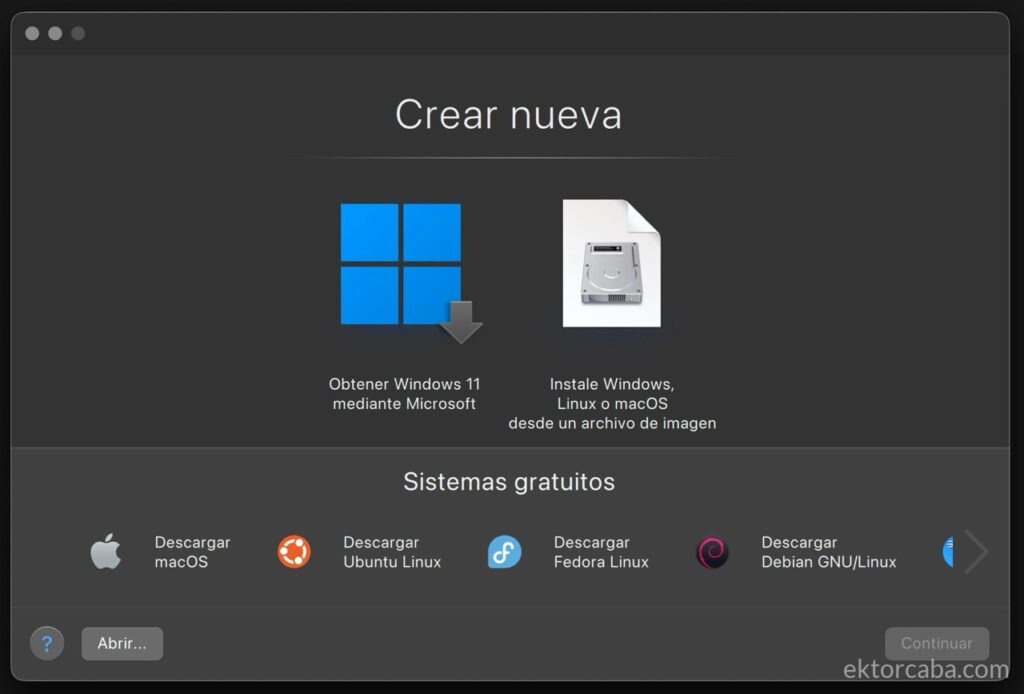
The main difference isn’t “whether it works or not” (both work), but rather the experience they offer:
| UTM | Parallels Desktop |
|---|---|
| Free | Paid |
| More manual | Much more polished |
| Perfect for testing or occasional use | Better integration with macOS |
| Requires tweaking some settings and understanding a bit of what you’re doing | Better graphics performance and fewer headaches |
| Ideal if you want to use Windows as if it were “just another app” |
Put another way: UTM is for tinkering and Parallels is for working comfortably.
With Parallels you can both emulate and virtualize. The difference between the two is:
Emulating: Using an X64 architecture on top of an Apple Silicon processor, or trying to install an Arm-architecture system on an Intel processor.
Virtualizing: In this case, it’s when you install an Arm system on an Apple Silicon processor, or when you install an x86 – x64 system on an Intel processor. In this case, it runs smoother and requires fewer resources because it doesn’t need to translate between architectures.
To make it easy, though, Parallels directly downloads and installs the ideal version for your Mac.
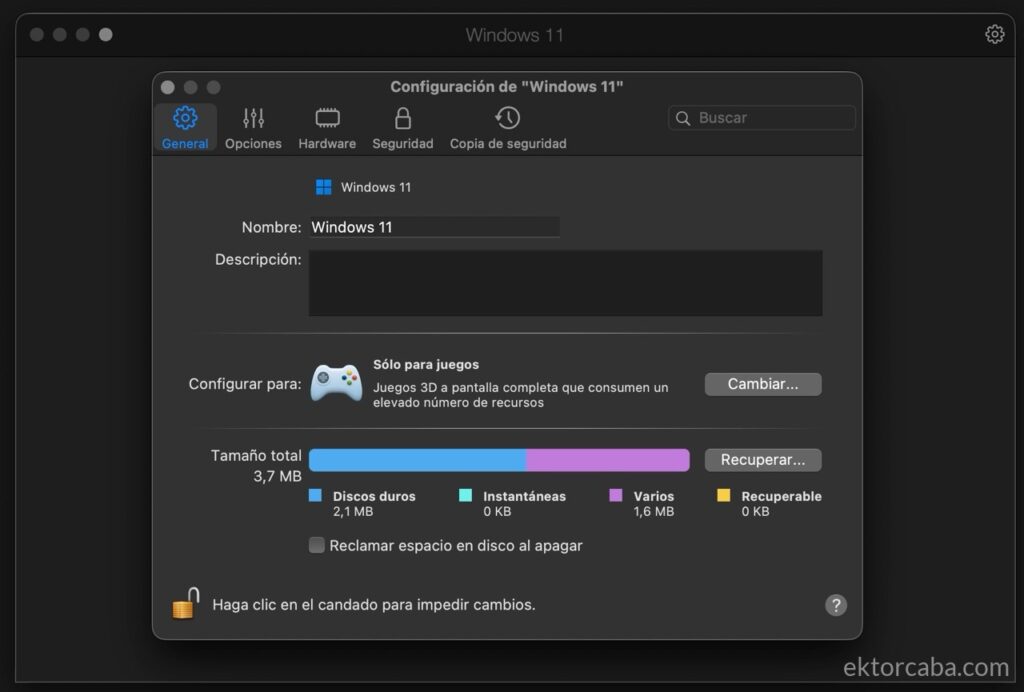
I showed the process with UTM here because it seems like a more accessible option to start with, but if you think you’ll be using Windows often on your Mac, Parallels is usually clearly worth it.
If you want to take a look at Parallels Desktop, here it is: